
How to Use a Deep Moisturizing Conditioner for Damaged Hair
If your hair feels dry, frizzy, or just lacks life, you’re not alone. I’ve been there, wrestling with tangles and split ends that seemed impossible to fix. The good news is that a great conditioner, used the right way, can make a huge difference. This guide will show you how to get the most out of a deep moisturizing formula like the LBLS Sakura Conditioner to bring back softness and shine.
What You’ll Need
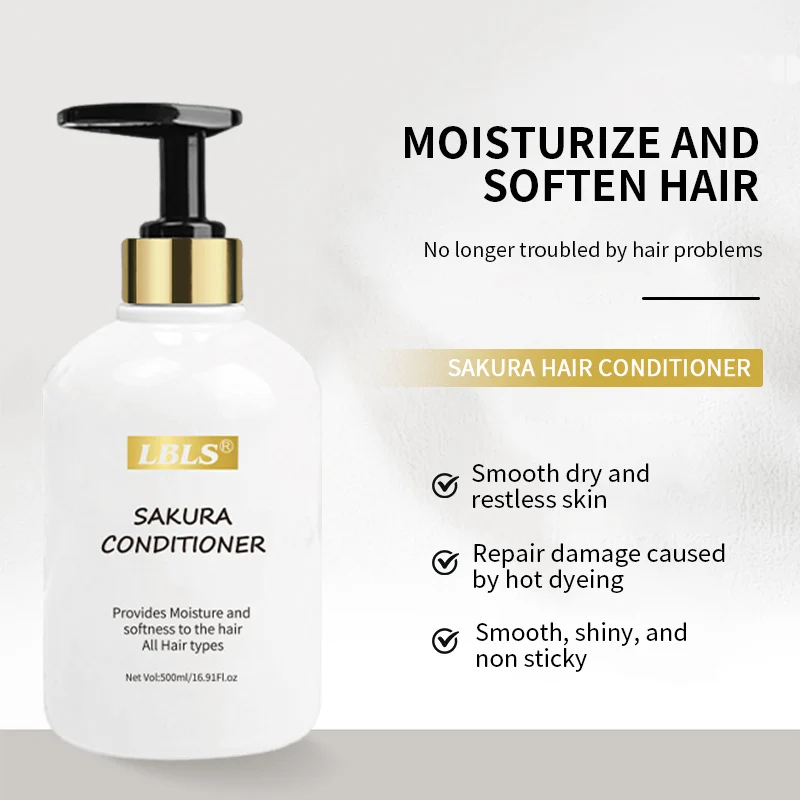
- The LBLS Sakura Hair Conditioner – Deep Moisturizing & Smoothing for Damaged Hair 500ml
- A sulfate-free or gentle shampoo
- A wide-tooth comb
- A towel (preferably a microfiber one or an old t-shirt)
- A shower cap (optional, for an intense treatment)
Step-by-Step Guide
Step 1: Start with a Clean, Rinsed Base
First, wash your hair with your regular shampoo. Focus on your scalp, massaging gently to lift any dirt and oil. Rinse it out completely with lukewarm water. It’s super important that your hair is thoroughly wet but free of shampoo residue before you apply conditioner. This allows the smoothing and moisturizing ingredients to work directly on your hair strands.
Step 2: Squeeze Out Excess Water
This is a simple but key step! Gently squeeze the lengths of your hair with your hands. You don’t need to wring it out, but you want to get rid of the heavy drips. Hair that’s too waterlogged can’t absorb product as well. Think of it like trying to paint a wet wall—the product just slides off. Getting it to a damp state means the conditioner can cling where it’s needed most.
Step 3: Apply from Mid-Lengths to Ends
Take a generous amount of the LBLS Sakura Conditioner—about the size of a quarter for medium-length hair. Rub it between your palms to warm it up slightly. Now, start applying it to the mid-lengths of your hair, working your way down to the very tips. These are the oldest, most damaged parts of your hair and they crave the most moisture. I learned this the hard way by piling conditioner on my roots and ending up with flat, greasy hair by lunchtime. Your scalp produces its own oils, so it usually doesn’t need the extra conditioning.
Step 4: Comb Through and Detangle
This is where the magic starts to happen. Use a wide-tooth comb to gently work the conditioner through your hair from ends to roots. Don’t worry if you have a lot of knots; the creamy formula is designed to help them slip right out. This step ensures every strand gets coated evenly. It also helps distribute your scalp’s natural oils down the hair shaft for extra shine.
Step 5: Let It Sit (The 1-Minute Miracle)
One of the best features of this conditioner is its fast-acting formula. You don’t need to wait forever. Leave it on for at least one full minute. Use this time to wash your body or just relax. This short wait lets the “instant absorption technology” do its job, penetrating the hair shaft to deliver intense moisture and start the repair work on damage from heat and coloring.
Step 6: Rinse Thoroughly with Cool Water
Rinse your hair completely with cool or cold water. The cooler temperature helps to seal the hair cuticle, locking in all that moisture and smoothing the outer layer of your hair. This is what gives you that silky, shiny finish and helps control frizz. Make sure you rinse until the water runs clear—no slick feeling left behind.
Step 7: Dry Gently
After you step out, avoid the temptation to rub your hair aggressively with a towel. This can cause breakage and create frizz. Instead, gently squeeze out the water with your hands, then wrap your hair in a microfiber towel or a soft cotton t-shirt. This method is much kinder to your newly conditioned hair and helps maintain that smooth texture.
Pro Tips
Boost It Weekly: For seriously damaged hair, use the conditioner as a deep treatment once a week. Apply a larger amount, put on a shower cap, and leave it on for 5-10 minutes before rinsing.
Focus on Problem Areas: If you have particularly dry ends, you can apply a tiny, pea-sized amount of conditioner to dry ends before shampooing. This creates a protective barrier against drying sulfates.
We also covered something similar in I Finally Found My Holy Grail Cleanser (And It's Not What You Expect).
If you liked this, you’ll probably find Honest LBLS Avocado Hand Cream Review: Does It Really Fix Dry, Cracked Skin? interesting too.
Cold Water Finale: For ultimate shine, do a final 10-second rinse with the coldest water you can stand. It really makes a visible difference in smoothing the hair cuticle.
Common Mistakes to Avoid
Applying to Roots: As I mentioned, this is a classic error. It weighs hair down and can make it look oily quickly. Always focus from the ears down.
Rinsing Too Quickly: Don’t skimp on the processing time. That one minute is crucial for the ingredients to penetrate and repair. Setting a timer on your phone can help.
Using Hot Water to Rinse: Hot water opens the hair cuticle and can wash away the beneficial ingredients before they’re fully sealed in, undoing all your good work.
Expected Results & Timeline
You should notice a difference immediately after your first use. Your hair will feel softer, be easier to comb, and have less frizz. With consistent use 2-3 times a week, you can expect to see continued improvement over 2-3 weeks. Damaged hair will become more manageable, split ends will appear less frayed, and your overall hair texture will feel healthier and more moisturized. The oil-balancing effect means your scalp and hair should feel fresh and clean for longer between washes.
The product I used: available here.

